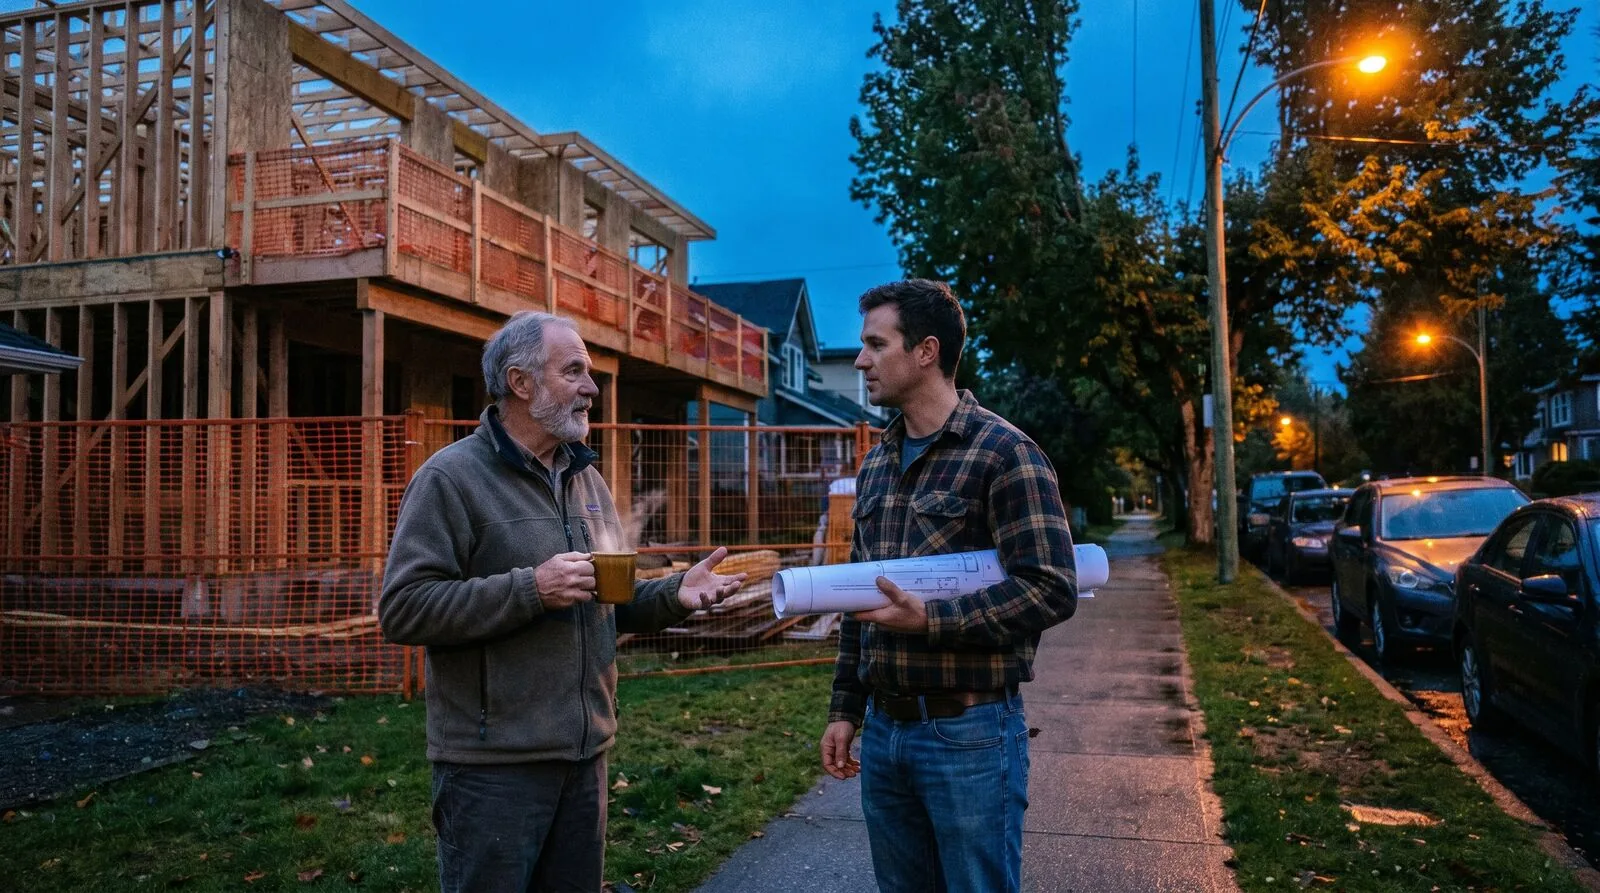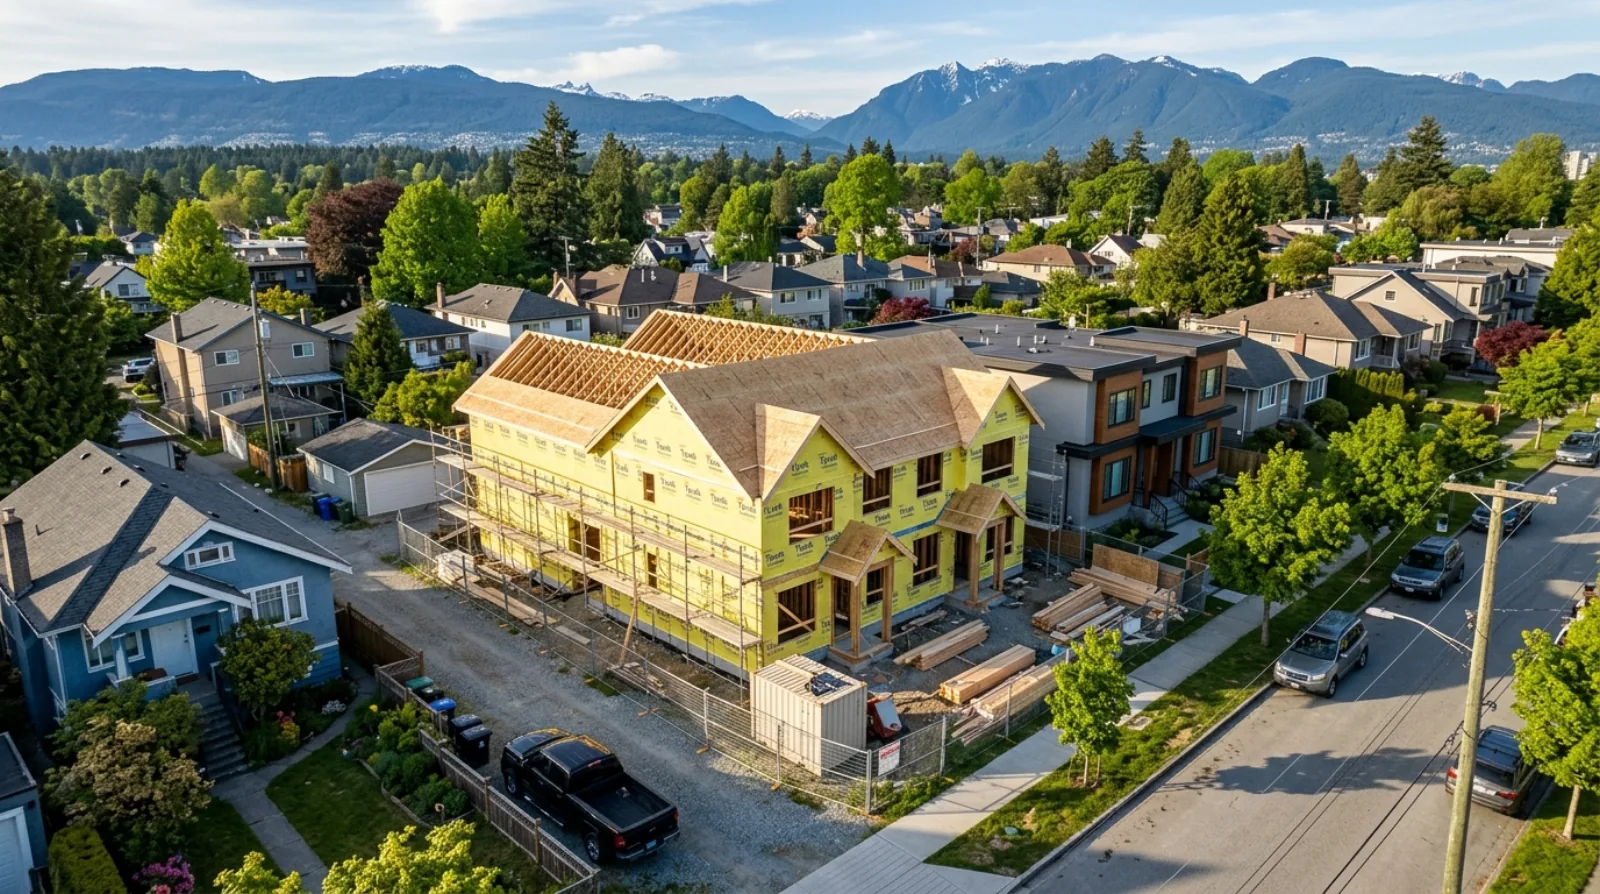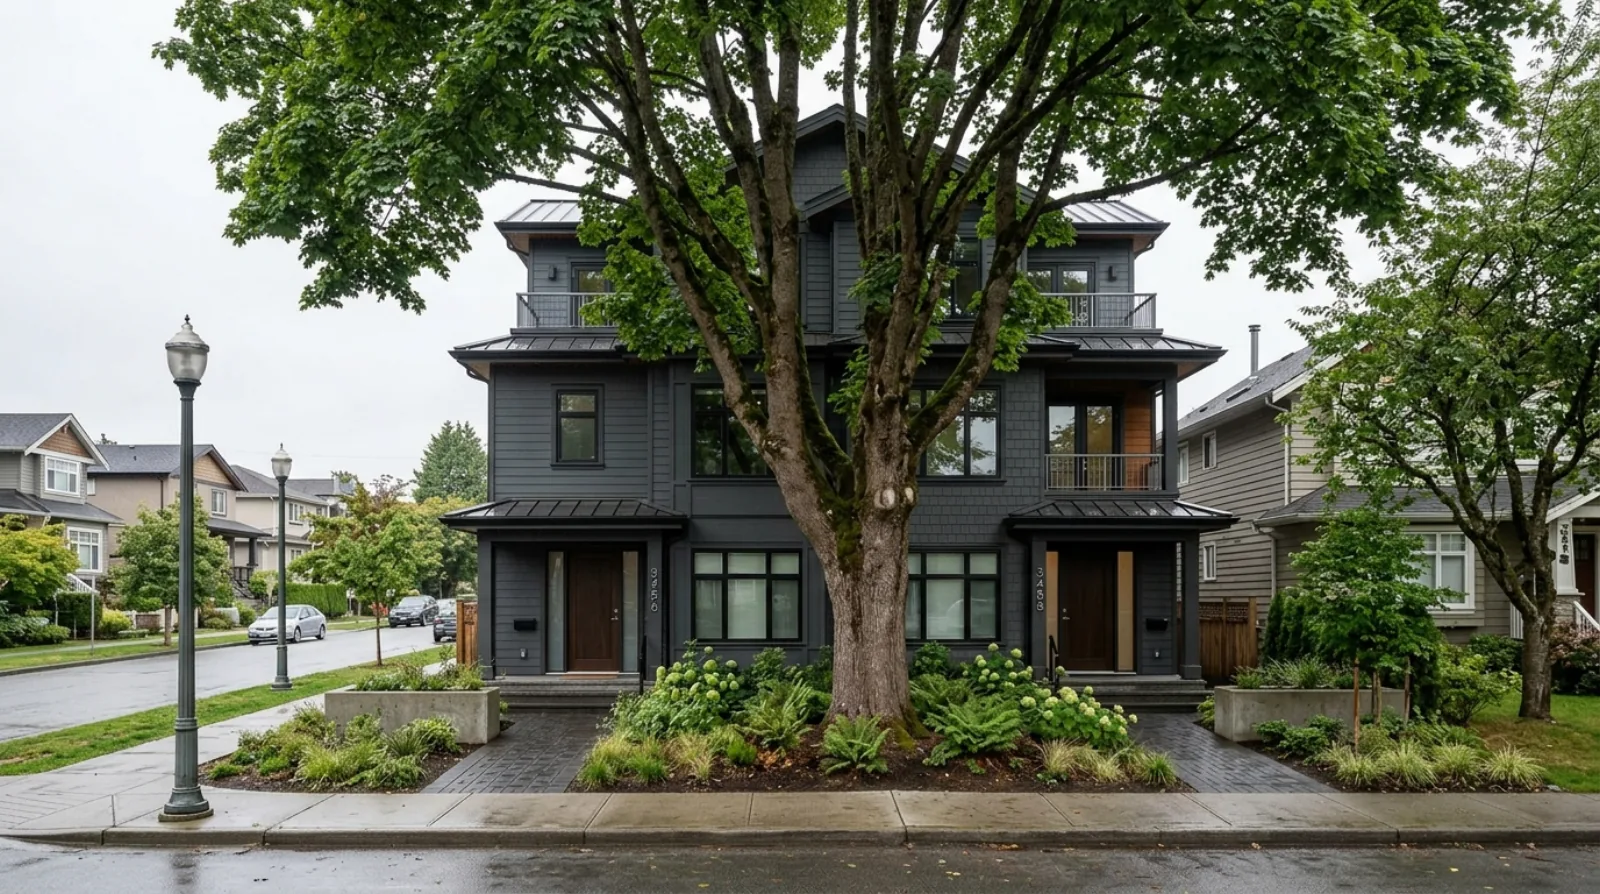
A site plan is the single most useful drawing in a multiplex project. More than the renderings, more than the floor plans, more than the elevation. The site plan tells you whether the project actually fits, whether the trees got saved, whether the parking math works, and whether the rear-yard amenity is real or a cartoon.
If you’re a homeowner reviewing your architect’s first multiplex submission, this is what to look for. Not architectural language — just the things that flip a project from working to broken.
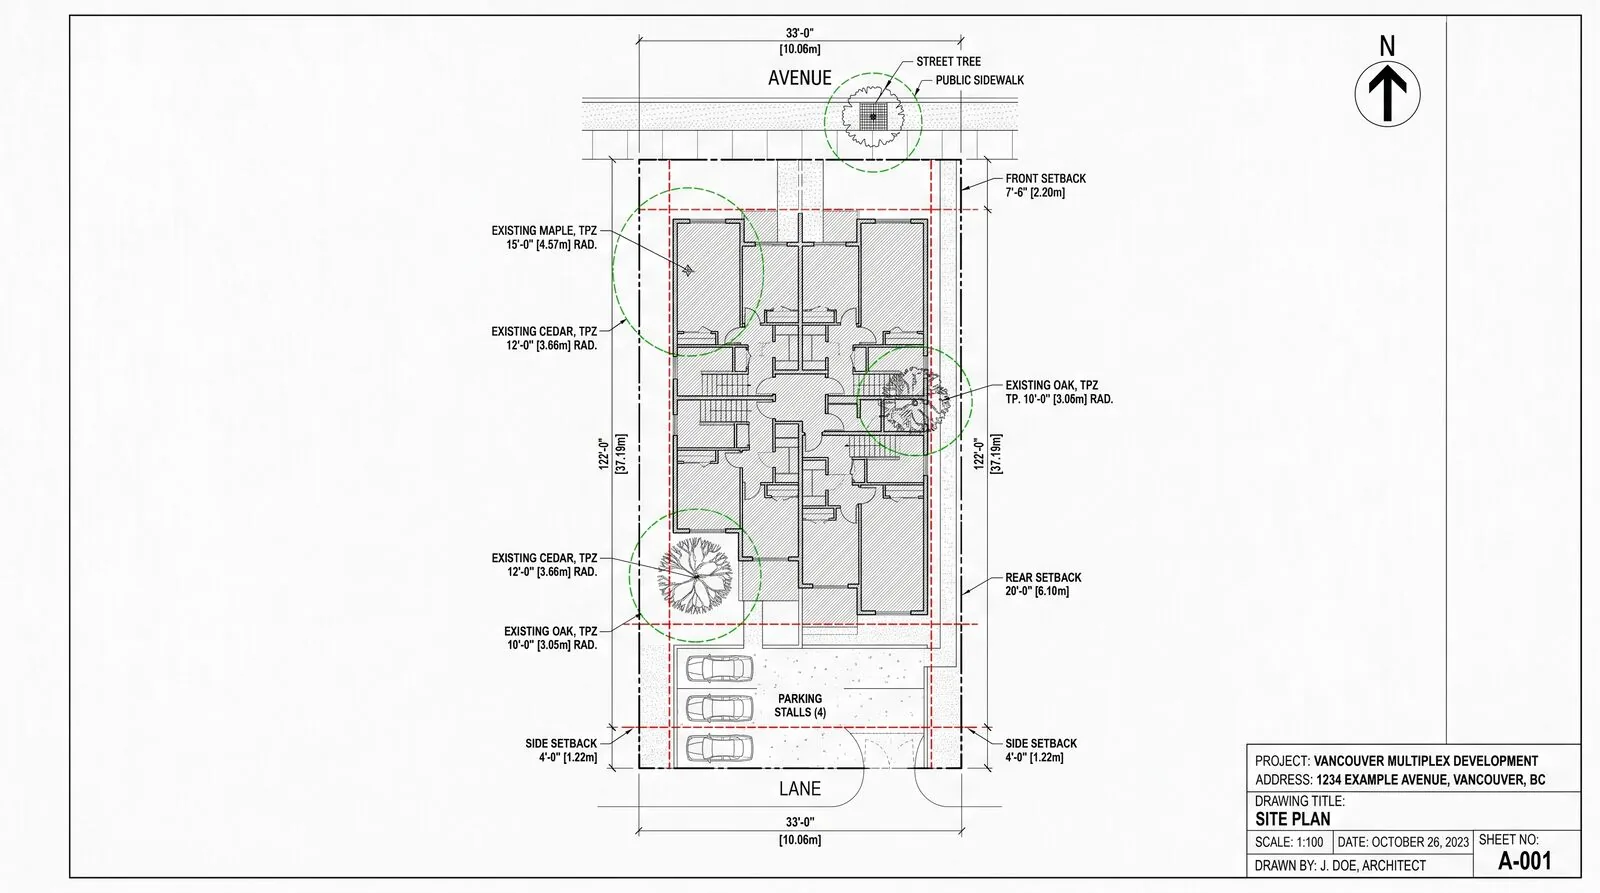
What a site plan is
A site plan is an overhead drawing of your lot showing:
- The property boundaries
- The building footprint (where it sits on the lot)
- All setbacks from each property line
- Trees and their protection zones
- Parking, paths, and outdoor amenity space
- Easements, rights-of-way, and registered encumbrances
- Existing context: adjacent buildings, lane, sidewalk, street
It’s the first drawing your architect produces that’s actually constrained by reality. The floor plans can fudge dimensions; the site plan can’t, because it has to be accepted by the city’s planning department before anything else happens.
The five things to check first
Before you read any narrative or look at any rendering, check these five.
1. Setbacks and buildable envelope
Every zone has minimum setbacks — a required distance between the building and each property line. Vancouver’s R1-1 zoning specifies front, side, and rear setbacks that depend on the lot configuration.
What to look for on the plan:
- Is each setback dimension labelled?
- Does the building footprint stay inside the setbacks on every side?
- Are there encroachments shown (eaves, decks, bay windows)? Some are allowed, some aren’t. Confirm with the bylaw.
- Is the rear yard depth sufficient for amenity space, drainage, and tree retention?
If the building touches a setback line on more than two sides, the project is squeezed and you’ll likely need design relief or a smaller footprint. Don’t skip this.
2. Trees and protection radii
Vancouver’s tree protection bylaw requires retention of healthy trees above certain trunk diameters and prescribes a tree-protection zone (TPZ) around each retained tree, typically 1 m radius per 10 cm of trunk diameter.
What to look for:
- Are all existing trees on the lot shown, with diameter and species?
- Are trees on adjacent lots shown if they’re close enough that their TPZ extends onto your lot?
- Are TPZ circles drawn around each retained tree?
- Does the building footprint conflict with any TPZ?
If a tree’s TPZ overlaps the building footprint, one of two things will happen: the tree will be removed (with city approval and replacement requirements), or the building will be shrunk to avoid the TPZ. Either has cost and design consequences. Trees are not a footnote — they often determine the buildable area.
3. Parking layout and access
Whether the project requires zero, one, or two stalls per unit depends on the bylaw and proximity to transit. We covered this in the parking minimum problem.
What to look for:
- How many stalls are shown?
- Where are they located — surface in rear yard, tucked under, or full underground?
- What’s the access route — driveway off the street, lane access, or both?
- Are the stall dimensions labelled? Standard is 2.6 m × 5.5 m for a regular stall; aisle requires 6.5–7 m.
- Is there a turning radius shown if a vehicle has to back into the lane?
If the parking is surface in the rear yard, that’s the cheapest configuration but consumes back-yard amenity. If it’s tucked under, look at the structural transition — is there a clear column grid that doesn’t conflict with the unit layouts above? If it’s underground, the ramp itself eats footprint and reduces the building envelope.
4. Easements and rights-of-way
Easements are registered restrictions on a portion of your lot — for utilities, drainage, lane access, or shared infrastructure with neighbouring lots. They typically can’t be built over.
What to look for:
- Is there a “statutory right-of-way” or “easement” labelled on the plan?
- Does it run along a side or rear of the property?
- Does any building footprint encroach on it?
Missing or hidden easements are one of the most common surprises late in a project. A 1.5 m utility easement along one side of the lot can shrink your buildable footprint dramatically. The architect should have a BC Land Title Office title search for the property; ask to see it referenced on the site plan.
5. Lane and street relationship
For multiplexes specifically, the lane (back lane) is often where vehicle access happens, where garbage and recycling are stored, and where the rear units face. The street is where the front units, address, and sidewalk relationship sit.
What to look for:
- Is the lane width shown?
- Is the building’s relationship to the lane labelled — is there a setback off the lane property line?
- Are garbage, recycling, and bike storage locations shown?
- Are the front and rear unit entries shown? On a Vancouver fourplex, you typically have two front entries facing the street and two rear entries facing the lane. (See the multiplex image accuracy note for what this looks like in practice.)
If the lane access doesn’t work — too narrow, awkward turn, no waste storage spot — the project will fail engineering review even if everything else is right.
What the plan should also show
Beyond the five priority items:
- Topography and drainage: contours of the lot, where rainwater flows, where it discharges. Vancouver’s lots are often sloped. Drainage design needs to be coordinated early.
- Permeable surfacing: many municipalities require minimum permeable area (grass, gravel, etc.) for stormwater management. Show this on the plan.
- Bicycle storage and EV charging: increasingly required in Vancouver and other municipalities. Show locations.
- Outdoor amenity area: balconies, patios, shared spaces — these have minimum-area requirements in many bylaws.
- Sight lines: from each unit’s main living window, what does the resident see? Privacy and outlook matter for end-user satisfaction.
Red flags
When I review a first-round site plan, these are the patterns that mean “go back to the drawing board”:
- No trees shown. Either the lot is genuinely treeless (rare in Vancouver) or the architect skipped the survey. Insist on the survey.
- Building hits the setback line on three or more sides. This is a squeezed project. The unit layouts will be awkward, the future maintenance access will be painful, and the design will likely face planning department resistance.
- Parking shown without dimensions. Common mistake on early-stage plans. Without dimensions, there’s no way to verify the parking actually fits.
- Lane access without a turning template. If a vehicle physically can’t enter or exit the parking, the project doesn’t get permitted. The turning template (a CAD overlay showing vehicle path) needs to be part of the plan.
- No easements labelled, but the title shows them. Cross-check with the title search. Easements that don’t appear on the plan will appear later when the city catches them.
- Existing building footprint not shown. The site plan should show the existing house being demolished, with demolition extent labelled. Phasing matters.
How to use the site plan in a homeowner conversation
If you’re meeting with your architect about a multiplex on your lot, here’s a useful sequence:
- Ask for the site plan first, before any unit floor plans or elevations.
- Walk through the five priority items above with the architect.
- Ask: “Where on this plan are we close to the limit?” The architect should be able to point to specific lines and say what would happen if a setback got tightened, a tree had to be saved, or a parking stall got cut.
- Get the dimensions in metric and imperial both. Bylaws use metric; tradespeople and clients usually think in feet.
- Ask for a “future expansion” version of the plan — what’s the next-larger building that could fit, and what would that require? This is useful for understanding how much room you have if the project grows.
A good architect will welcome these questions. A site plan that can survive scrutiny survives planning review.
What changes between schematic and permit
The first site plan you see is usually “schematic” — concept-level, no dimensions tight to the surveyor’s data. By the time you submit for permit, the site plan needs:
- A registered land surveyor’s survey as the base
- Dimensioned setbacks to the nearest 0.1 m
- Tree survey done by a qualified arborist
- Stamped engineering for any retaining walls, drainage, or substantial slope work
- Coordinated demolition plan if there’s an existing building
The transition from schematic to permit-ready usually takes weeks of back-and-forth. Be patient. The schematic that “looks done” is rarely permit-ready, and submitting a schematic-quality plan to the city wastes review cycles.
The site plan is the contract with reality
Architectural renderings sell. Floor plans inspire. The site plan keeps the project honest. When something goes wrong on a multiplex build, it’s almost always something that was either missing from the site plan or shown incorrectly. Trees moved. Easements ignored. Parking that didn’t actually fit. Setbacks that got fudged.
If you’re an owner about to spend money on a multiplex project, learn to read the site plan first. The half-hour you invest in understanding what those lines mean will save you from the most expensive surprises.
For broader project-stage guidance, see the BTR underwriting guide, the lease-up timeline, and the missing middle hub.
— David Babakaiff, Co-Founder, VanPlex